Recently, Before You Dig Australia opened up the BYDA API making it easier for high-volume users to automate the lodgement of enquiries. Now, we’ve added a Geovonic Connect plugin to take advantage of this API, allowing you to auto-lodge BYDA jobs from any ArcGIS web map.
With BYDA providing free API credits to all members (new and existing), this is a great way to take advantage of the offer.
In this article we’re going to walkthrough how you can set this up for yourself using Geovonic Connect and ArcGIS Experience Builder.
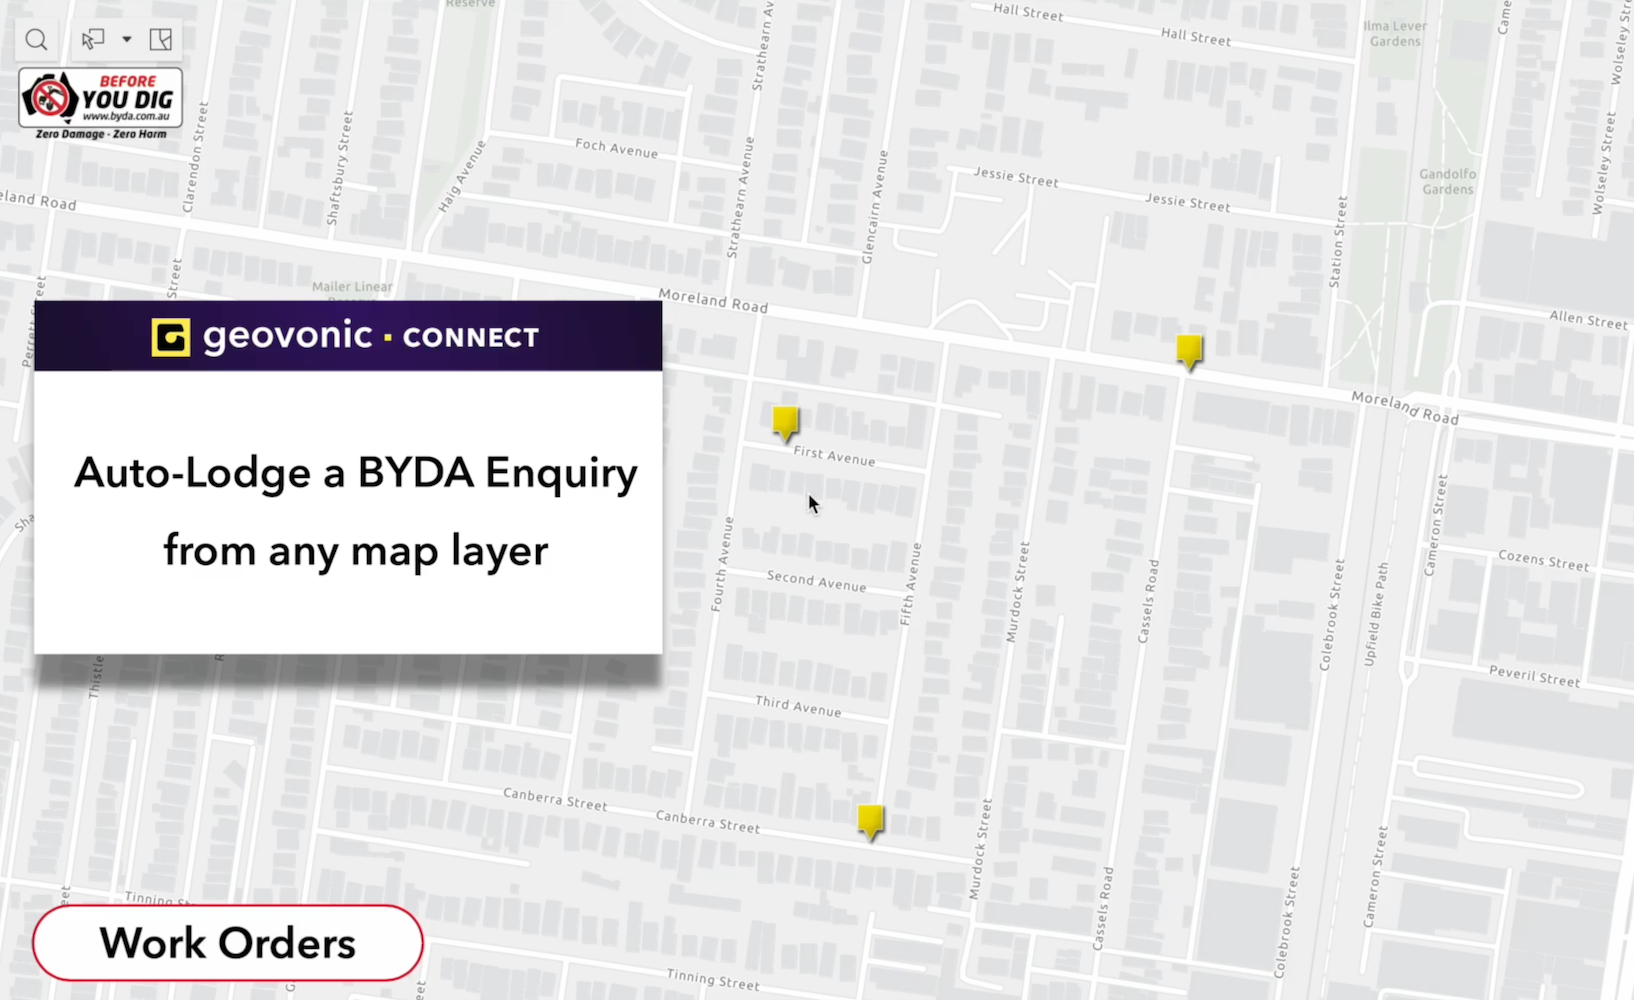
This video shows what we’re going to build. It’s a simple web application showing planned works. When a user clicks on any of the works on the map they can instantly turn that into a BYDA enquiry.
Your Work Orders
For this walkthrough, I’m assuming that we have a layer available in our GIS that contains the planned works. Each feature in this layer represents a job that we’re going to need to lodge a BYDA enquiry for.

My example work orders include four fields that I want to populate onto a job in the BYDA service.
- Reference: A unique reference number for this job. It will be used in the Your Ref field in BYDA.
- Description: Brief summary of the works. This will be added as Notes in BYDA.
- Start Date: The planned start date for this job.
- End Date: The planned end date for this job.
My work orders are represented as point features. Geovonic Connect will work equally well with points, lines or polygons.
Creating a BYDA API key
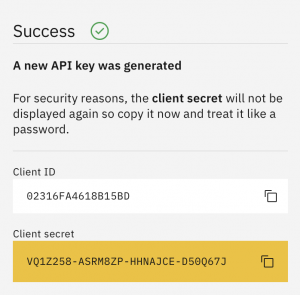
A BYDA API key is used to allow third-party apps to integrate with BYDA. You can easily create an API key through the BYDA application following the steps described in this help page.
Once you’ve done this you will have a Client ID and Client Secret ready to add to Geovonic Connect.
Note: your user account must be pre-authorised by BYDA to use the create enquiry API. This is free for BYDA members – simply contact the BYDA team to have it activated.
Adding the App Launcher
Next, we’re going to configure the App Launcher in the Geovonic Connect the admin console.
Select the “BYDA Enquiry Create” launcher type. (This is a premium plugin, so please contact our team if you’d like to use this launcher in your applications.)
Now, we can go through and populate each section of the app launcher form.
Connection
In the Connection section, you’ll enter smarterwx.1100.com.au as the host name and then enter the Client ID and Client Secret you created earlier. This tells Geovonic Connect how to connect to the SmarterWX server.

Buffer Distance
If you’re map features are either points or lines, you’ll need to set the Buffer Distance. This is a distance in metres that is applied to your feature’s geometry when creating the job site in BYDA.

Don’t go too big with this. A buffer distance of 5 or 10 metres is probably sufficient for most use cases given the typical width of the road reserve.
For polygon features, the buffer is not used. The job site in BYDA will be the same as your map feature.
Fixed Defaults
The fixed defaults are used to populate the fields on your BYDA enquiry. Each value configured here will be passed through to BYDA for enquiries you create.
You can use feature attributes to populate these fields (see later). If the feature attribute is blank, the fixed default will be used in its place.

These fields are all optional. Fields that are not filled in will be left blank and the user will need to add them in the BYDA enquiry lodgement process.
Attribute Values
As mentioned above, you can also use attributes from your map features as values to pass in to the BYDA service. In the example below, you can see that four fields are going to be populated using values from the feature attributes – start date, end date, your reference and notes.

Clicking the [+] symbol to the right of each field brings up a list of all the feature attributes for you to choose from.
That’s the app launcher configuration complete. Next, we add the widget to an ArcGIS Experience Builder web app.
Building the Experience Builder app
If you haven’t already registered the Geovonic Connect widget with your ArcGIS environment, you’ll need to head to the Install Widget page of the admin console.

If you’re using ArcGIS Enterprise, this is as simple as clicking “Register automatically” from the Geovonic Connect admin console. If you’re using ArcGIS Online, you can download the widget bundle from the admin console and then install it into your Experience Builder Developer Edition folder.
In ArcGIS Experience Builder, create a new application and make sure it’s using a web map containing the work orders layer. Then drag the Geovonic Connect widget into your application.
The widget will detect that your work orders layer is present. Click on the layer in widget properties panel to configure the presentation.

Choose an attribute to display as the Feature Label. I use the work order reference number.
Select which feature attributes you want to display in the widget, and finally choose whether subsequent calls to the BYDA enquiry app launcher should open in a new tab each time, or reuse the same tab. It’s probably best to reuse the same tab for the BYDA launcher.
That’s it. You’re now ready to test it by clicking on a map feature. The widget will show the selected feature and you can click on the BYDA button to lodge your new enquiry.

If you’re not currently logged in to the BYDA service, you will be first prompted to sign in. Otherwise, you’ll be taken straight to the enquiry lodgement screen. Click on Lodge Enquiry to submit your job.
This is a great way to take advantage of the new BYDA API service and the free transactions that are being provided to all BYDA members (new and existing). If you’d like to use this with your projects, please get in touch with our team for more information.