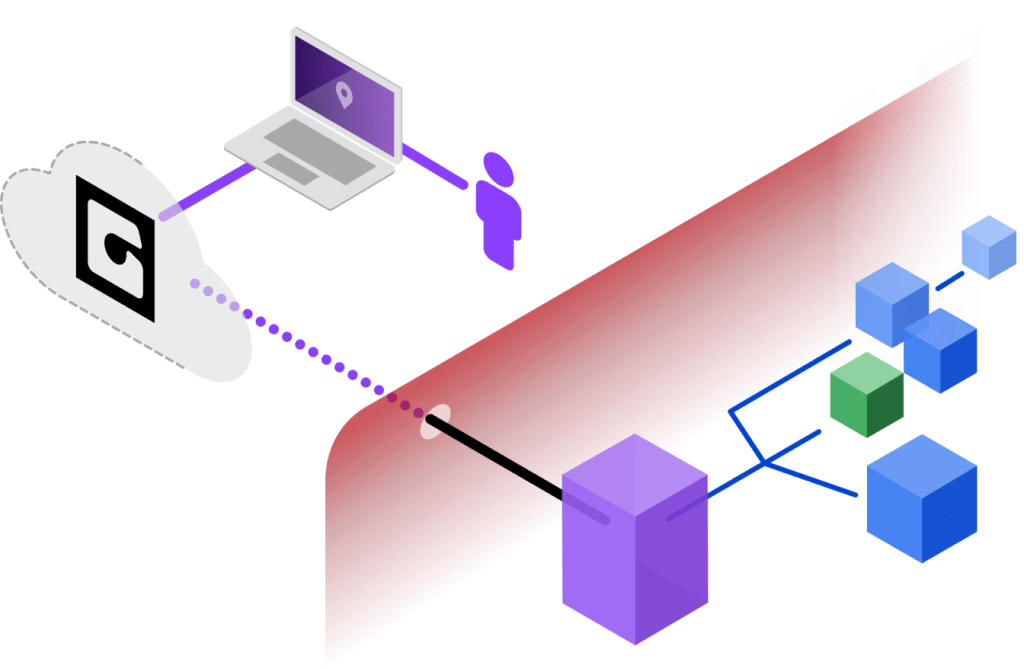
The Geovonic Relay Service is an agent application deployed inside your network to create a secure communications channel to the Geovonic Connect server. The relay service allows the Geovonic Connect server to connect to an on-premises ArcGIS Enterprise portal or to business sytems and databases sitting behind a firewall in your trusted zone.
Prerequisites
The Geovonic Relay Service is deployed using as a Windows service. It is assumed that you, or your IT team, have basic knowledge of working with Windows services.
You will need to determine where best to install the Windows service.
- The Geovonic Relay Service needs to be running at all times that your users are using the Geovonic Connect widget.
- The Geovonic Relay Service needs to be able to connect to any on-premises business systems that you intend to integrate with (e.g. SQL databases, asset management systems etc).
- The Geovonic Relay Service needs to be able to open an HTTPS web socket to the Amazon Web Services environment. The specific URI can be found in the config.ini file downloaded from the Geovonic admin console.
Relay Service Installation
Download the Geovonic Relay Service installer from the admin console. Click on “Download installer“.
- Copy the files to your selected Windows server.
- Extract the ZIP file to the
C:\GeovonicRelayServicefolder. - Install and start the Plugin Service, run these commands: –
PluginService.exe installPluginService.exe start
- You can check the status with
PluginService.exe status - Install and start the Relay Service, run these commands: –
RelayService.exe installRelayService.exe start
- You can check the status with
RelayService.exe status
Returning to the Geovonic Connect admin console, you should see a message telling you that the Geovonic relay service is successfully connected.
NTLM Authentication
If your ArcGIS Enterprise uses Windows NTLM authentication, the config.ini file needs to be edited to include NTLM credentials. Open the config.ini file and edit these three lines: –
NTLM_DOMAIN=NTLM_USERNAME=NTLM_PASWORD=
The NTLM user must be an administrator for the ArcGIS Portal (at least during the setup and can be reduced later).
If the chosen username has an expiring password due your organisation’s password rotation policy, be sure to remember to update the password on a regular basis. Alternatively, contact your IT department to request that password expiry be disabled for the chosen user.
Troubleshooting
Outbound Server Connections
The Geovonic Relay Service needs to open a web socket connection to the Geovonic servers. If your firewall rules block external connections from the server running the relay service you may see this error: –
Websocket error Error: connect ETIMEDOUT
Contact your IT department to whitelist outbound connections to the Geovonic server hosts. These can be found in the config.ini file as: –
- LARGE_RESPONSE_MESSAGE_URL
- WEBSOCKET_URL
The relay service also needs to be able to connect to connect.geovonic.com.
Unable to login to ArcGIS Enterprise – Internal server error
If your ArcGIS Enterprise portal is secured using NTLM authentication you need to configure NTLM in the config.ini file See above for more details.
Signature expired
Make sure that the clock on the machine running the relay service is synchronised. The timestamps between the Geovonic server and relay service need to be closely aligned.
Updating or Uninstalling the Relay Service
From time to time, we will release updates to the Geovonic Relay Service that may require you to update your installation. First, uninstall the current Relay Service and then follow the instructions for installation.
To uninstall: –
- Navigate to the C:\GeovonicRelayService folder.
- Stop and uninstall the Relay Service, run these commands:
RelayService.exe stopRelayService.exe uninstall
- Stop and uninstall the Plugin Manager, run these commands:
PluginService.exe stopPluginService.exe uninstall
- It may take a few minutes for the services to stop and uninstall.
You can check the status withPluginService.exe statusorRelayService.exe status. It should show a status ofNon-Existent.
Note: If using NTLM, you may need to copy the NTLM configuration from your old config.ini file to the new one.
Contacting support
If you have any issues please contact our support team.