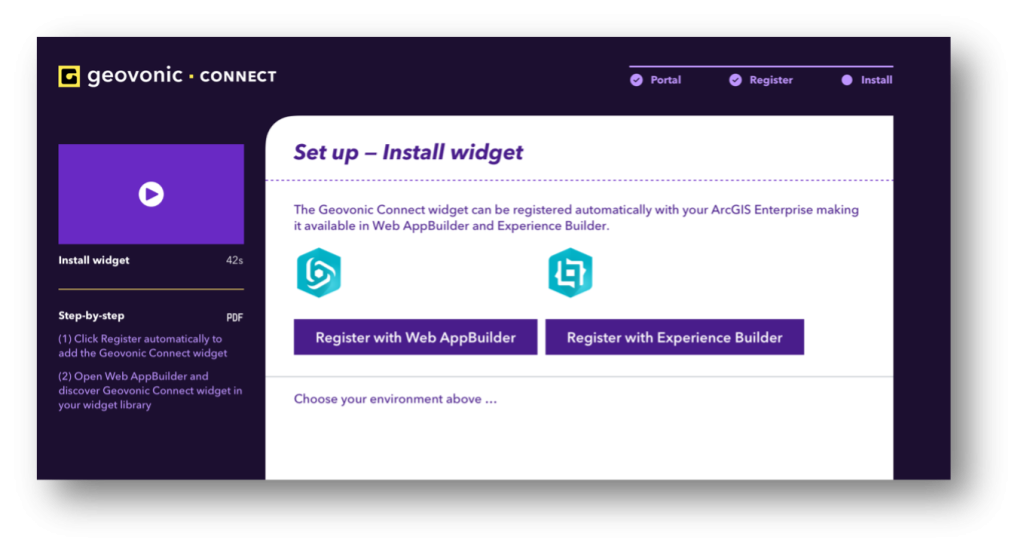
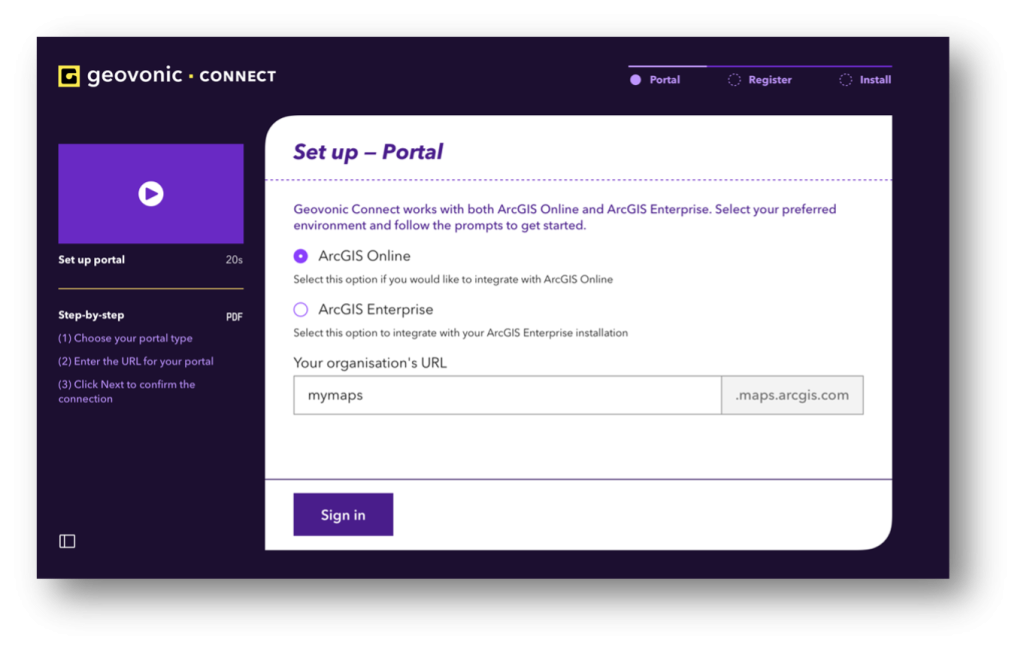
Once your subscription has been provisioned, Geovonic Connect will send an email to the email address you provided. Click on the link in the email to begin connecting Geovonic Connect to your ArcGIS. At each step of the on-boarding flow, you can click on the video thumbnail to watch a walkthrough of the step.
The on-boarding flow is slightly different for ArcGIS Online and ArcGIS Enterprise. This article is specifically for ArcGIS Online.
STEP 1 – Select your target ArcGIS environment
Choose the ArcGIS Online option and enter the URL for your account.
The URL will look like: – https://<MY_ORG>.maps.arcgis.com
STEP 2 – Sign in to ArcGIS Online
Click on the Sign in button and you will be taken to your organisation’s ArcGIS Online login page.
Geovonic Connect is requesting permission to be connected to your organisation. You must be an Administrator user role in your ArcGIS to setup the connection.
STEP 3 – Install widget
To use custom widgets, such as Geovonic Connect, ArcGIS Online requires you to a local installation of ArcGIS Web App Builder Developer Edition. If you do not already have this installed, please check out this help article.
Once you have Web App Builder up and running, download the widget code from the Geovonic Connect admin console.

Unzip the downloaded file and copy the Geovonic Connect folder into the widgets folder of Web App Builder.
\ArcGISWebAppBuilder\client\stemapp\widgets
Your widget is now installed and ready to be used in your application.
STEP 4 – Configure Data Sources and Layer Links
Your initial setup is now complete. The next step is to configure data sources and layer links. Please continue with this help article.
