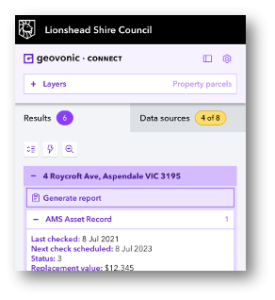
Using Geovonic Connect reporting, the widget user can choose to generate a report based on the selected map features. The generated report can contain values from both the map feature and any layer links associated with the feature layer.
A report template is a Word document containing a special tags that will be replaced with data taken from your ArcGIS map features and other business systems.
Adding a Report Template
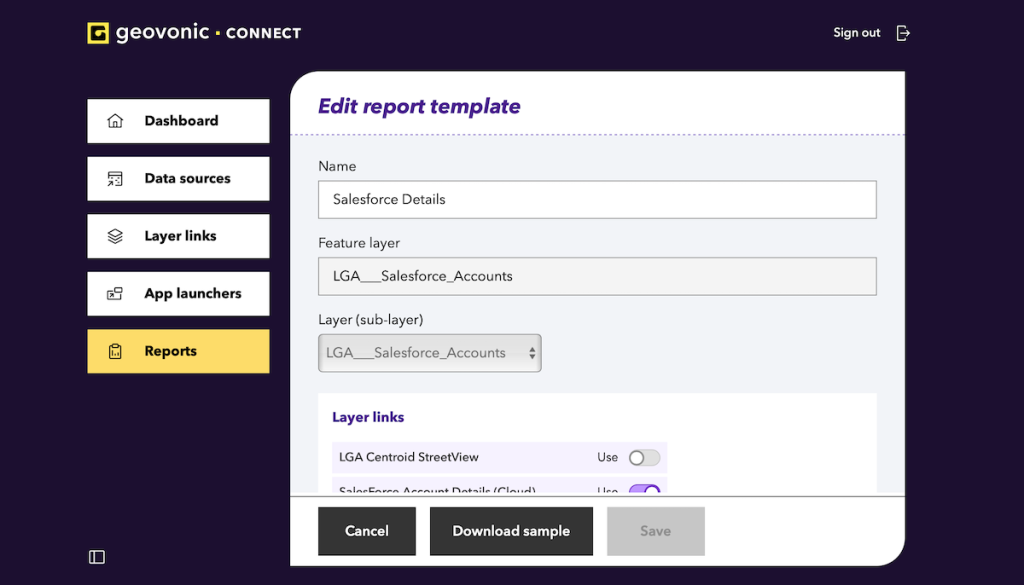
- Navigate to the Reports option on the left-hand menu and then click on the Add report definition
- You will be asked to search for the feature layer that you wish to link with this report. Enter some search text in the box and then hit Search.
- Select your layer from the search results and hit Continue.
- Give your report a Name and select the sub-layer. You will also be prompted to select any Layer Links which will be used for this report generation.
(You do not need any layer links to use Geovonic Connect reporting. If you want, you can generate reports based only on feature attribute values.) - You can now download a sample report template. This sample is a handy starting point for creating your MS Word template. It contains examples of all available fields that you can use in your report both from the map feature and the layer links.
To download the sample, click on the Download sample - Create your report template. For a detailed description of the template language you use to add variables to your report, see Geovonic Connect Report Syntax.
- Upload your report template by clicking on the Upload a template link or dragging your file on to the Template file.
- Geovonic Connect will immediately start to verify your report template. During verification, all the tags you have included in the template will be checked.If your report is valid, it will be shown in the file list. You must click Use template to make this the active template for the report.
If your report has errors, click on the Errors link to reveal details of the errors in your file. Fix the problems and upload the file again. - Finally, click on the Save button to save your report.
- This report will now be available to use from the Geovonic Connect widget, for any app that is using the chosen feature layer.
Hiding the Report Option
By default, all report templates configured against a feature layer will be available on the Geovonic Connect widget when the user selects a feature from that layer.
The app author can choose to hide a report so that it is not available to users of that specific Web AppBuilder or Experience builder app. To hide a report, go to the widget properties and disable the report template.
Generating a Report
After selecting one or more features on the map, the widget user will see the Generate report option displayed for each feature.
- Click on the Generate report button
- Select the output format (Word or PDF)
- Hit the Run button
- The report will be generated and downloaded to the browser.

[OPTIONAL] If the report has been configured to use prompting fields (see Geovonic Connect Report Syntax), the user must fill in the fields before hitting Run.
